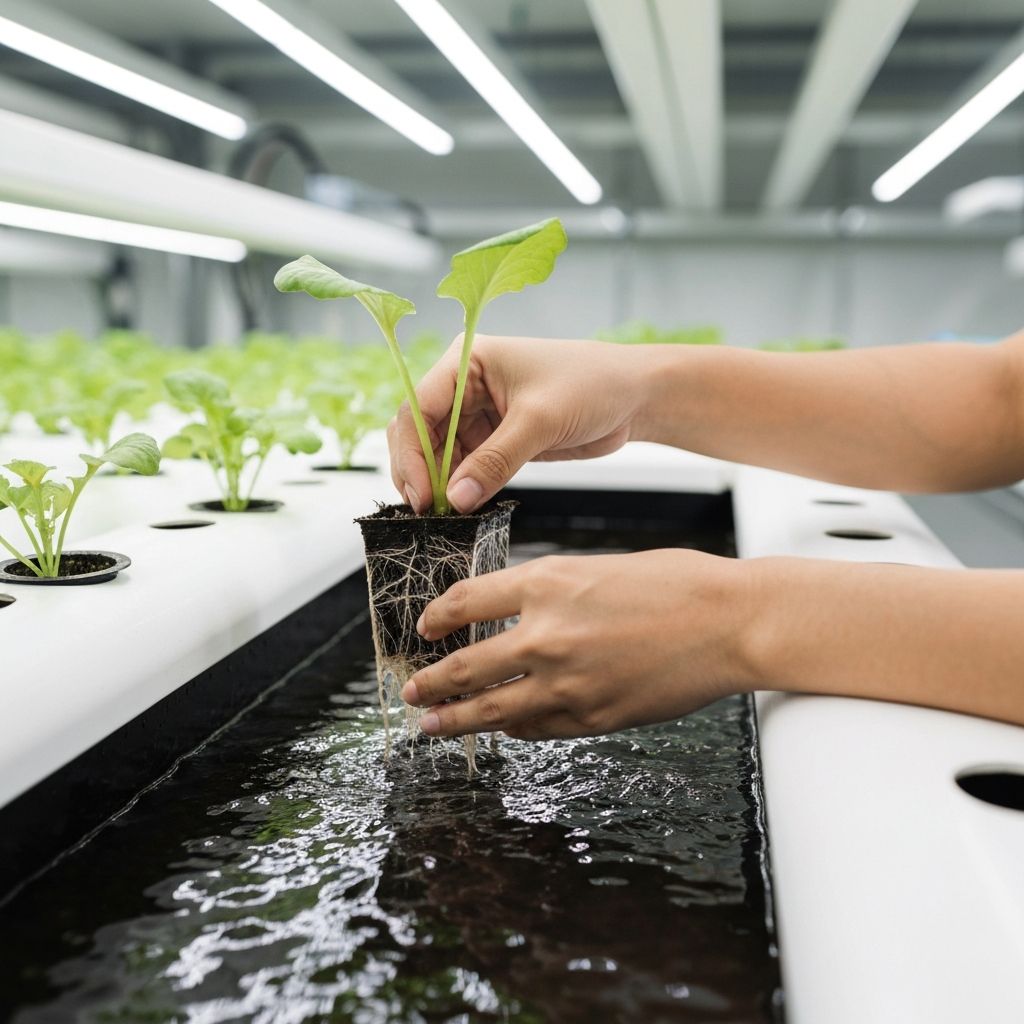
Successful transplanting is crucial for seedling survival and future productivity. Proper technique minimizes transplant shock and sets plants up for vigorous growth.
When to Transplant
Signs seedlings are ready: - 2-4 true leaves (not seed leaves) - Roots visible at bottom of starter cell - Stems are sturdy, not leggy - Generally 2-4 weeks after germination
Timing Tips: - Transplant in evening or cloudy days - Avoid transplanting stressed plants - Don't wait too long - rootbound plants struggle
Preparing for Transplant
Harden Off (if moving environments): - Gradually expose to new conditions - 5-7 days of transition - Reduce watering slightly beforehand
Prepare Destination: - Pre-wet growing medium - Ensure proper spacing - Check pH and EC levels - Clean and sanitize containers
Transplanting Technique
Step-by-Step: 1. Water seedlings 1-2 hours before transplanting 2. Prepare planting holes slightly larger than root ball 3. Gently squeeze cell to loosen seedling 4. Support stem - never pull by leaves 5. Place in new location at same depth 6. Gently firm medium around roots 7. Water immediately with dilute nutrient solution
Post-Transplant Care
First 48 Hours: - Maintain higher humidity (70%+) - Reduce light intensity by 50% - Keep temperatures moderate - Avoid fertilizing heavily
Days 3-7: - Gradually increase light - Return to normal humidity - Watch for wilting - water as needed - Resume normal feeding after day 5
Troubleshooting Transplant Shock
Wilting: - Normal for first 24-48 hours - Mist leaves if severe - Check root contact with medium
Yellowing Lower Leaves: - Often normal stress response - Remove if they don't recover - Check pH and nutrients
Stunted Growth: - Roots may be damaged - Be patient - can take 1-2 weeks to resume growth - Avoid overcompensating with fertilizer
Pro Tips
- •Handle seedlings by leaves, not stems
- •Work quickly to minimize root exposure
- •Use rooting hormone for difficult transplants
- •Label everything - you will forget
- •Keep transplanting tools clean and sharp